Introduction
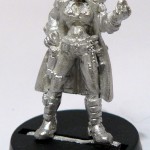
 I wanted to paint something and I also wanted to write some reasonably lengthy and meaty blog posts, so I thought it made sense to combine the two things. Welcome then to my first painting diary where I’ll cover the process I followed to paint Reaper Miniatures’ Sasha DuBois (part of their Chronoscope line). The whole article is split up into several parts, and this is part one.
It’s worth saying what this series of articles is not. They’re not a guide on how to paint, they’re not an example of the right way to paint, they’re not about how you should paint. What it is, is purely a diary about how I painted this specific miniature. At the moment, I’ve got no idea how the figure will turn out, I may ruin it, I may give up half way through, I may finish it and hate it, or complete it and be really proud of it.
Along with the blog posts I’ll be updating a Picasa web album with all the photo’s I take. You can check out all the photo’s in the on-line gallery here.
I was going to track the progress of a space marine I got (for free!) when I bought some paint, because it would be something totally different for me. I’ve never painted a space marine, I don’t usually paint sci-fi miniatures, it’s male, and it’s fully clothed. However, I eventually decided at least for my first painting diary (on this platform) that I’d stick partially to form. Hence the figure is female and is at least partially naked (bare midriff), however it is at least a sci-fi miniature. So, here we go.
Preparation is King
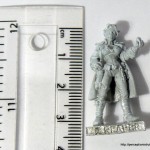 Even though miniatures are only around 25-30mm high they’re still cast in two part moulds. No matter how good the company is you’re going to get mould lines on the finished piece. You may also get flash (pieces of metal left over from the casting process which aren’t part of the actual miniature). One of the sneaky things about mould lines is that they don’t always jump out at you on a bare metal figure; lighting and the intricate detail can sometimes obscure them. Also, well designed miniatures will naturally try and hide the mould lines anyway, running them up clothing seams or similar, so you sometimes need to look pretty hard to find them.
The second sneaky thing about mould lines is that at least two miniature painting techniques, those of washing and dry-brushing are designed to bring out the tiniest of details, and hence they’ll make mould lines stand out as if they were meant to be there even if you couldn’t see them before you started. There’s nothing more frustrating than finishing a miniature and having a dark line run down the face or down an otherwise smooth piece of clothing because you didn’t get rid of the mould lines before you started.
Normally I spend a little bit of time getting rid of all of the flash, and some time getting rid of some of the obvious mould lines. I’m not entering my figures into competitions and I’m not spending that much time on painting them. However, since I was going to write a diary I thought I’d better try a lot harder with Sasha and that way I can a) improve my technique and b) show you a little more detail about how it all works.
The more time you spend preparing the miniature by cleaning up the metal the less time you spend trying to work out if the line is meant to be there, or wondering why your figure has a stripe down the middle of their face.
Luckily for me, Reaper make pretty good miniatures and they employ some amazing sculptors, so Sasha had almost no flash and only a couple of mould lines I had to deal with. The first stage is to get the mini out of the blister pack and have a very good look up close. Here I’m looking for any lose pieces of metal or flash and trying to work out where the mould lines might be, what is sculpted and what is accidental and where to begin.
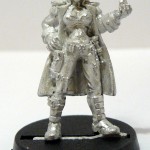
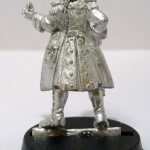
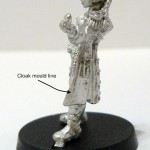
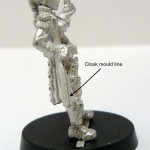
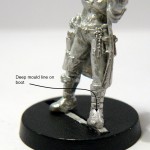
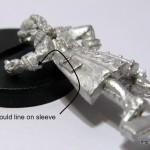
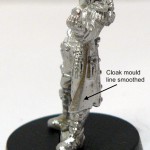
On first inspection, there were four places I had to deal with. Sasha has a cloak and both cloak edges had a mould line running up them. The left boot had a pretty deep mould line across the top and up through the straps, and finally the left arm underneath had some flash and a mould line which looked to me like it was mostly on the sleeve. The six photographs below show how the figure looked as soon as it came out of the blister pack.
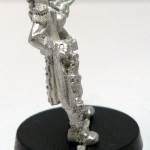
First job then is to file down the mould lines, or cut them away with a craft knife. I like to pare back the major mould lines which stick out with a craft knife initially, and then I use my needle file set to file down the rest of the line. Normally, this would be a pretty quick process for me, because I’m not aiming for perfection, but this time I tried to be much more attentive. The boot mould line was an indentation so that wasn’t going to be something I could use the knife on, however the cloak and sleeve mould lines were raised so I reduced those as much as I could first with the knife and then filed them down. The following two images show the initial results.
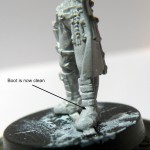
For the boot, I had to put in a lot more work. Using round and triangular needle files I got rid of the mould lines, but made sure to sharpen and rebuild the detail such as the strap and the toe-cap. The results of that are shown in the photo below.
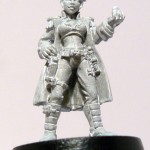 After all that, which took about 30-40 minutes, I was pretty happy with the figure. To my eye, the mould lines were gone from everywhere. The next stage for me when painting is to put an undercoat onto the figure. When I first started painting I never really bothered with this stage (of course, when I really first started painting I was using gloss enamels, there’s another story). Even after a year or so when I was working with acrylics and getting much better results I didn’t really undercoat. Then I read an article (in a magazine in those days) that described how using a light coloured undercoat could brighten the final paint job, and a dark undercoat could be used to speed up painting heavily armoured figures or dark coloured mini’s. I tried spray paint undercoats initially but unless you’re very careful it goes on too thickly, and after a lot of trial and error I found a method which works for me. Using a lot of water, a big soft brush and some white acrylic I make a very thin paint and put it all over the miniature. I then soak up any spare liquid with the brush again. This results in a very thin white coat on the figure, it dries almost instantly, and it only takes a few seconds.
I found that the undercoat gives me three main benefits. Firstly, it does indeed give a slightly lighter effect to any paint which goes on quite thinly. Secondly it performs the role of an undercoat in general which is that the next paint layer adheres a lot more evenly, is less prone to pooling or peeling back and generally looks a hell of a lot better. But the absolute major benefit of this white undercoat is that it brings up all the detail on the figure and that includes mould lines you missed or didn’t fix and it shows if your filing was successful.
The boot mould line doesn’t show up in this photo after the first undercoat layer goes on.
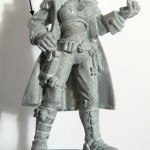
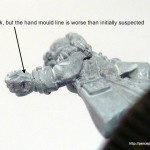
And that gives me hope that when I complete the paint job it’ll look smooth. However, the undercoat highlighted some areas I still had to work on. Firstly it showed up a mould line on the right sleeve-top which I’d totally missed, and secondly it showed that I hadn’t fully got the line under the left arm and additionally, the line on the cuff and hand was worse than I originally thought. This is shown in the following pictures.
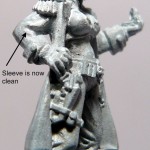
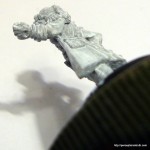
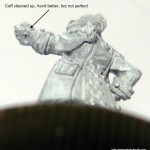
So, back to work with the needle files. The undercoat gives you another advantage here as well – when you file off the line you take off the paint and you can clearly see if you still have to file away any more metal. Another 10 minutes or so of filing and I cleaned off the metal dust and put on another undercoat layer. Once that was dry I had a good look. I’d managed to fix the top of the right sleeve, but hadn’t completely fixed the bottom of the left. However, the line was mostly limited now to the gloved hand, it’s on the bottom/back of the miniature and I’ve already done about 30 minutes more filing than I normally would, so I’m happy with it, as it stands. Details in the following pictures.
So the first stage is complete. I’ve cleaned the miniature enough for my liking and I’ve got a basic white undercoat which lets me see the detail and gives me a good base to paint onto.
Now comes the hardest of all the stages, trying to visualise how you want the miniature to look when you’re done. More on that in part two.

