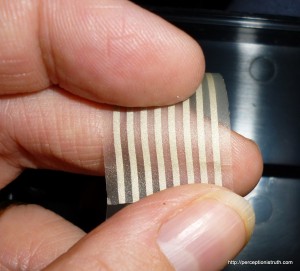
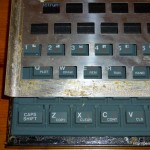
 Poor old 001-430610. It was sold on eBay as fully working 48K ZX Spectrum, but by the time it got to me, the keyboard membrane connectors were so badly cracked only about 6 of the keys worked. The picture on the right doesn’t do the damage justice, by the time I came to look at it properly, the tear was through most of the strip.
The good news is, you can buy replacement membranes, it’s one of the few components you can buy from new because people have had new ones produced over the years. I stumped up the cash and bought one from RWAP Software (via eBay). It arrived this morning, and although I hadn’t been planning on replacing the membrane straight away – this evening in a fit of ‘must do something’, I decided to go for it.
I’ve done plenty of reading and the biggest risk when replacing the keyboard membrane in your rubber key 48K Spectrum, is bending the metal faceplate as you take it off. The membrane sits under the rubber keyboard mat, which in turn sits underneath the metal faceplate, which is glued on. The guides talk about carefully softening the glue with a heat source (like a hair dryer) and gently peeling away the metal faceplate.
I was pretty nervous, however, being the proud (and slightly embarrassed) owner of four rubber key 48K Spectrums gave me some courage, so without any further ado, and with nary a heat source in sight, I started work.
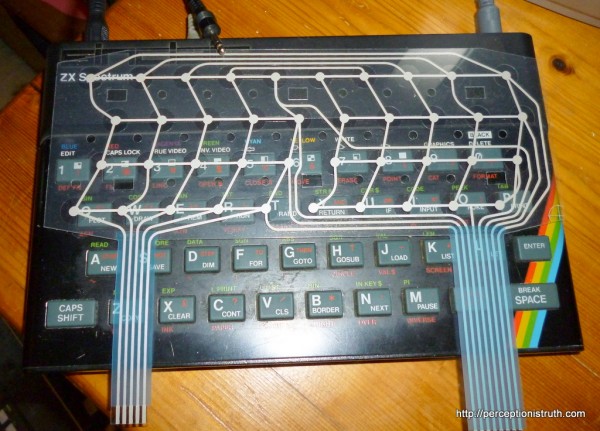
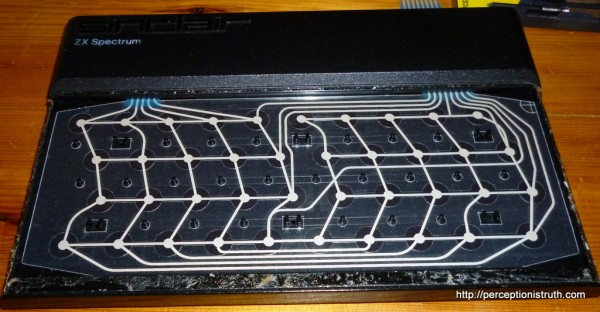
Here’s the new membrane sitting on top of the Spectrum I’m about to whack it into. You can see why these things tear, those ribbon connectors (no edge connectors on them) stick straight into two connectors on the motherboard.
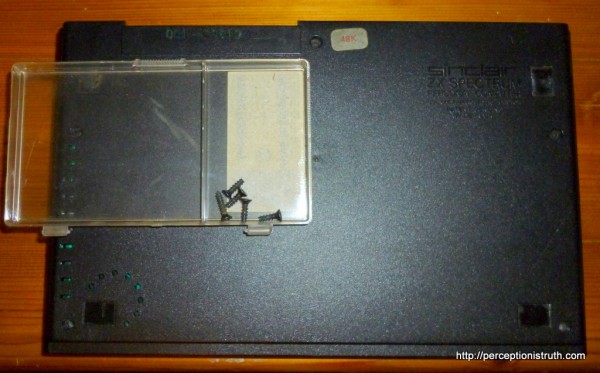
Step 1 (after taking photos) – take out the screws and keep them somewhere safe.
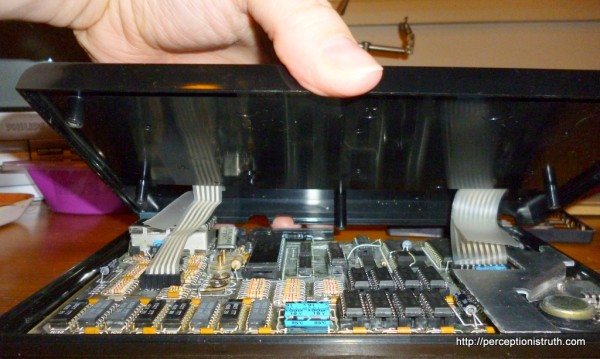
Step 2 – take off the top of the Spectrum. Be careful when you do this, because assuming your keyboard membrane isn’t currently broken, this is the best way to break it. As you lift the case, the ribbon connectors will keep it attached to the motherboard, so you need to open it like a clam shell and carefully remove the ribbons (assuming you’re opening it for a reason other than replacing a faulty membrane).
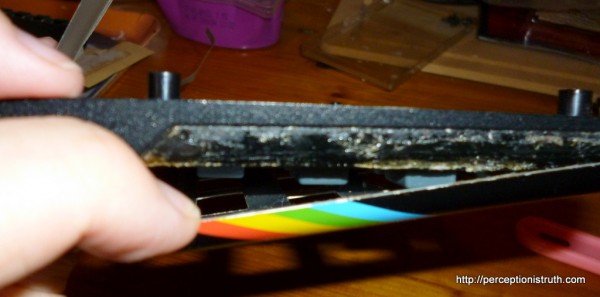
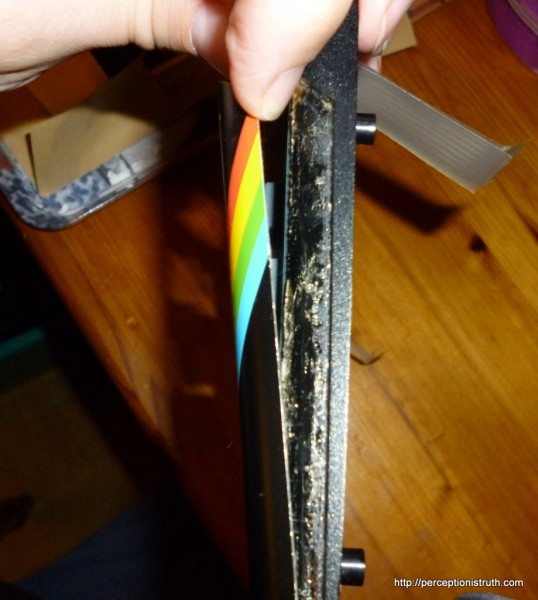
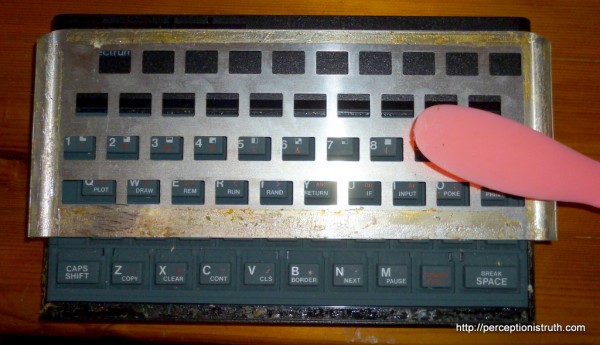
Step 3 – once you’ve disconnected the top from the bottom by removing the ribbon connectors from the motherboard, you’ll need to carefully remove the metal faceplate. This is where you may, if you wish, resort to a heat source. With or without one, you’re going to need a lot of patience, and I suggest something plastic and thin. It was clear to me that someone had already had a go at this case (that’s not an original keyboard membrane).
One edge of the metal faceplate is already reasonably easy to lift.
I worked that apart with just my fingers.
However, the rest was still pretty strongly attached, so I grabbed a plastic latex spreader (don’t ask) and used the thin wedge to carefully, over the space of 10 minutes, lift the rest of the faceplate away from the case.
Step 4- lift off the rubber keyboard mat, remove the existing membrane, and place the new one over the plastic pillars. The narrow ribbon strip goes on the left, the wide one on the right. The ribbons need to go through the gap in the lid so they can enter the case.
Step 5 – With that done, replace the rubber keyboard mat. The mat has some keying holes which sit over those 6 grippers. If you don’t get those right, the mat will bunch up and you’ll get keys stuck under the faceplate.
Step 6 – At this stage, with the rubber mat resting on the membrane, I actually put the bottom half of the case back on, pushed (carefully) the ribbons into the connectors, and powered the Spectrum up. I tested all of the keys, and they all worked fine. I was so excited, I didn’t take photos.
Step 7 – put the case screws back in (gently, this is plastic)!
Step 8 – and finally, replace the faceplate. You may or may not need to clean it and add more glue / double sided tape depending on your preference. I was pretty confident the remaining glue would hold mine down, but if it starts to lift I can always re-glue it later.
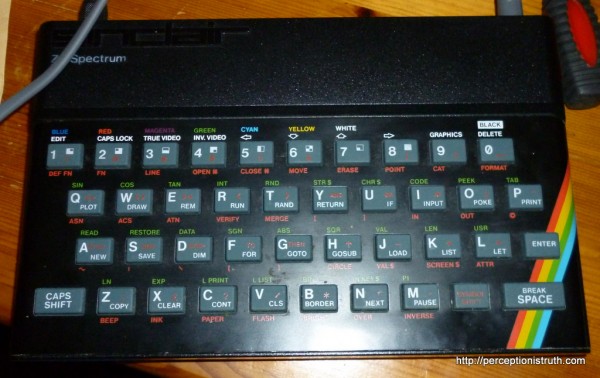
And that’s it. I’m really pleased it works. A quick set of PEEK’s later and I can confirm it is indeed a 48K model with all the memory working and intact.

Hi !
Any suggestions for glue or double sided tape? I bought scotch double sided tape 1/2 inch but doesn’t seem to be strong enough. I would buy on the net but don’t want to end up with a double sided tape too tick or the wrong glue. This is for a timex sinclair 1500 (same form factor as sinclair spectrum).
thanks.